Difference between revisions of "CDC wiggle wire positions"
From GlueXWiki
| Line 10: | Line 10: | ||
{| border="0" cellpadding="2" | {| border="0" cellpadding="2" | ||
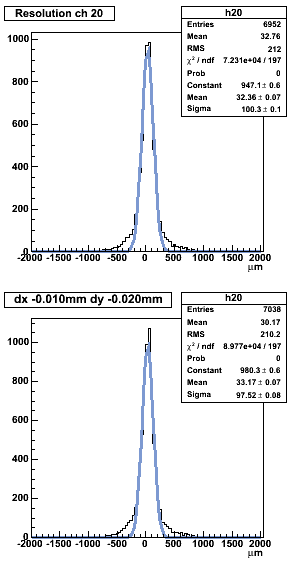
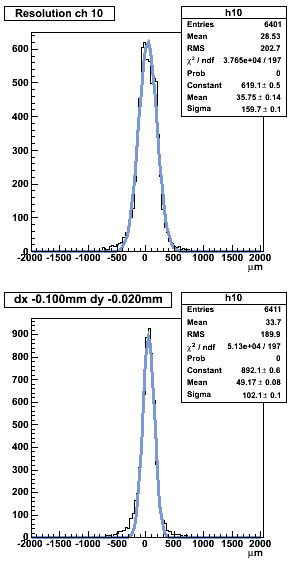
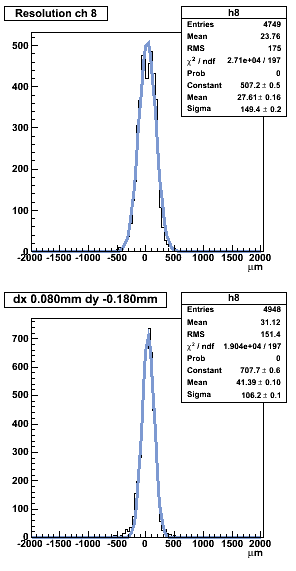
|+Before (top) and after (bottom) | |+Before (top) and after (bottom) | ||
| − | |[[Image:wiggle20.png|thumb| | + | |[[Image:wiggle20.png|thumb|300px|straw 17 (channel 20)]] |
| − | |[[Image:wiggle10.png|thumb| | + | |[[Image:wiggle10.png|thumb|300px|straw 7 (channel 10)]] |
| − | |[[Image:wiggle8.png|thumb| | + | |[[Image:wiggle8.png|thumb|300px|straw 5 (channel 8)]] |
|} | |} | ||
Revision as of 10:48, 18 July 2012
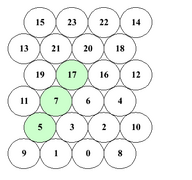
Started looking at 3 wires, straw 17 (central) which is one of the better resolution straws, and then straws 7 and 5 which are worse.
Wiggled wire positions in a 9x9 grid for wires in the order 17, 7, 5, starting with box width 160um (9 boxes in the grid) and halving box size for each step, down to 5um.


